 Sale! | Stucco -10% | montage materials -5% |Valid until 30.04.2024Sale! | Stucco -10% | montage materials -5% |Valid until 30.04.2024
Before starting assembly, make sure that all received elements are in accordance with your order (size/model/length/quantity).
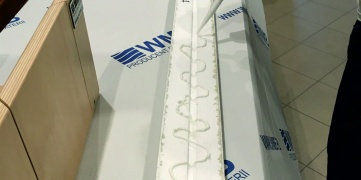
For the assembly of WMB decorative mouldings are needed the following tools:
Before commencing assembly, make sure that the surface and the connections between the moulding are clean, dry and dust free.
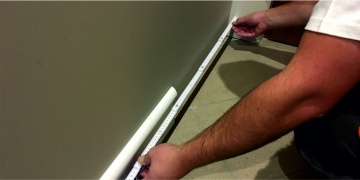
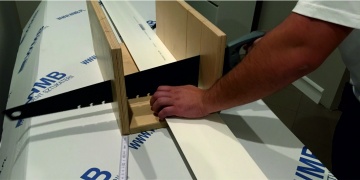
When cutting with an electric angle saw (Photo 2), it is recommended to use the slowest turns in order to reduce the melting of the material. Before cutting, measurements should be conducted with care and accuracy - it will save you time and money when finishing connections. After cutting the moulding, remove the unevenness with sandpaper (Photo 4).
 |
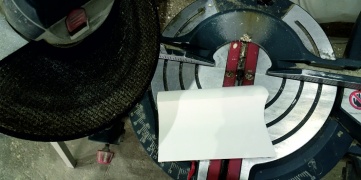 |
| Photo 1. Measurements | Photo 2. Cutting |
 |
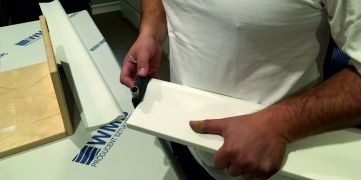 |
| Photo 3. Cutting | Photo 4. Ending Cleaning |
For gluing stucco we recommend using Mardom Decor Fix Pro adhesive.
You can also use one of adhesives pointed below:
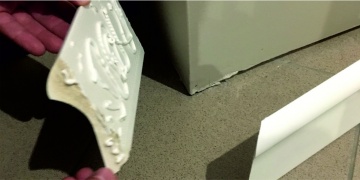
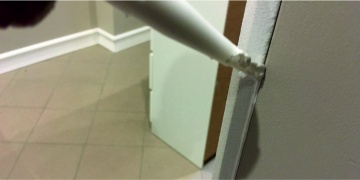
Before adhesive application, check if the previously cut mouldings fit well to walls, and whether their angles match each other (Photo 4), then apply the adhesive to the entire glued surface (Photo 5) and on connections between mouldings (Photo 6). The glue should be spread by pressing profile along the entire length so that the edge of it tightly clungs to the wall. Excess glue that has been squeezed out and should be removed using a putty knife or damp sponge. The profile position can be adjusted up to 3 minutes from the application of glue.
The right positioning of stucco guarantees joints accuracy finish.
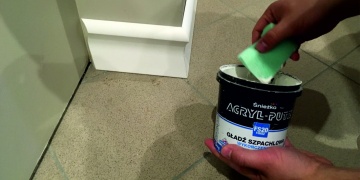
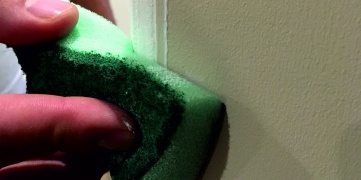
Connections must be filled with repair mass (eg. Śnieżka Acryl Putz FS20) using a putty knife and sponges (Photo 6, 7). After drying, the connection should be made smooth with sandpaper. Actions, if necessary, repeat. We recommend making simple connections through cutting the ends at an angle of 45 °.
 |
 |
| Photo 4. Checking Before Installation | Photo 5. Adhesive Application |
 |
 |
| Photo 6. Sticking | Photo 7. Joints Grouting |
 |
| Photo 8. Joints Grouting |
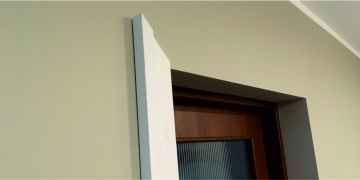
In the points of contact between wall and stucco use the same adhesive and repair compound as in case of moulding joints. (Photo 9). The applied adhesive should be levelled using a putty knife, then collect the excess with a damp sponge (Photo 10). After the adhesive has dried, any unevenness can be removed with sandpaper.
We advise not to use silicone sealants because they can not be sanded or painted.
Our stucco can be painted with elastic water-borne paints. As a rule, it is recommended to paint the elements twice (stick to the recommendations of the used paint manufacturer).
It is forbidden to use silicate and solvent paints. We do not recommend priming of our interior stucco.
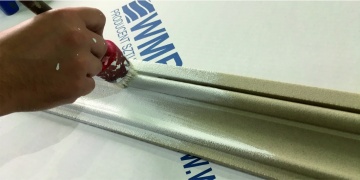
For WMB stucco we recommend Tikkurila Optiva Matt. Before installation, stucco can be pre-painted (Photo 10). Leave time gaps between layers according to recommendations of paint manufacturer's.
The assembly work should be adjusted to the technical instructions of the producers used materials. Such information can be found on packaging of these materials and their technical cards. If in doubt, please consult with the material seller or technical consultant of a given brand.
 |
 |
| Photo 9. Sealing the Connection of Wall and Moulding | Photo 10. Cleaning the Joints |
 |
| Photo 11. First coat of Paint |
Previous instructions expire on the day of the update.